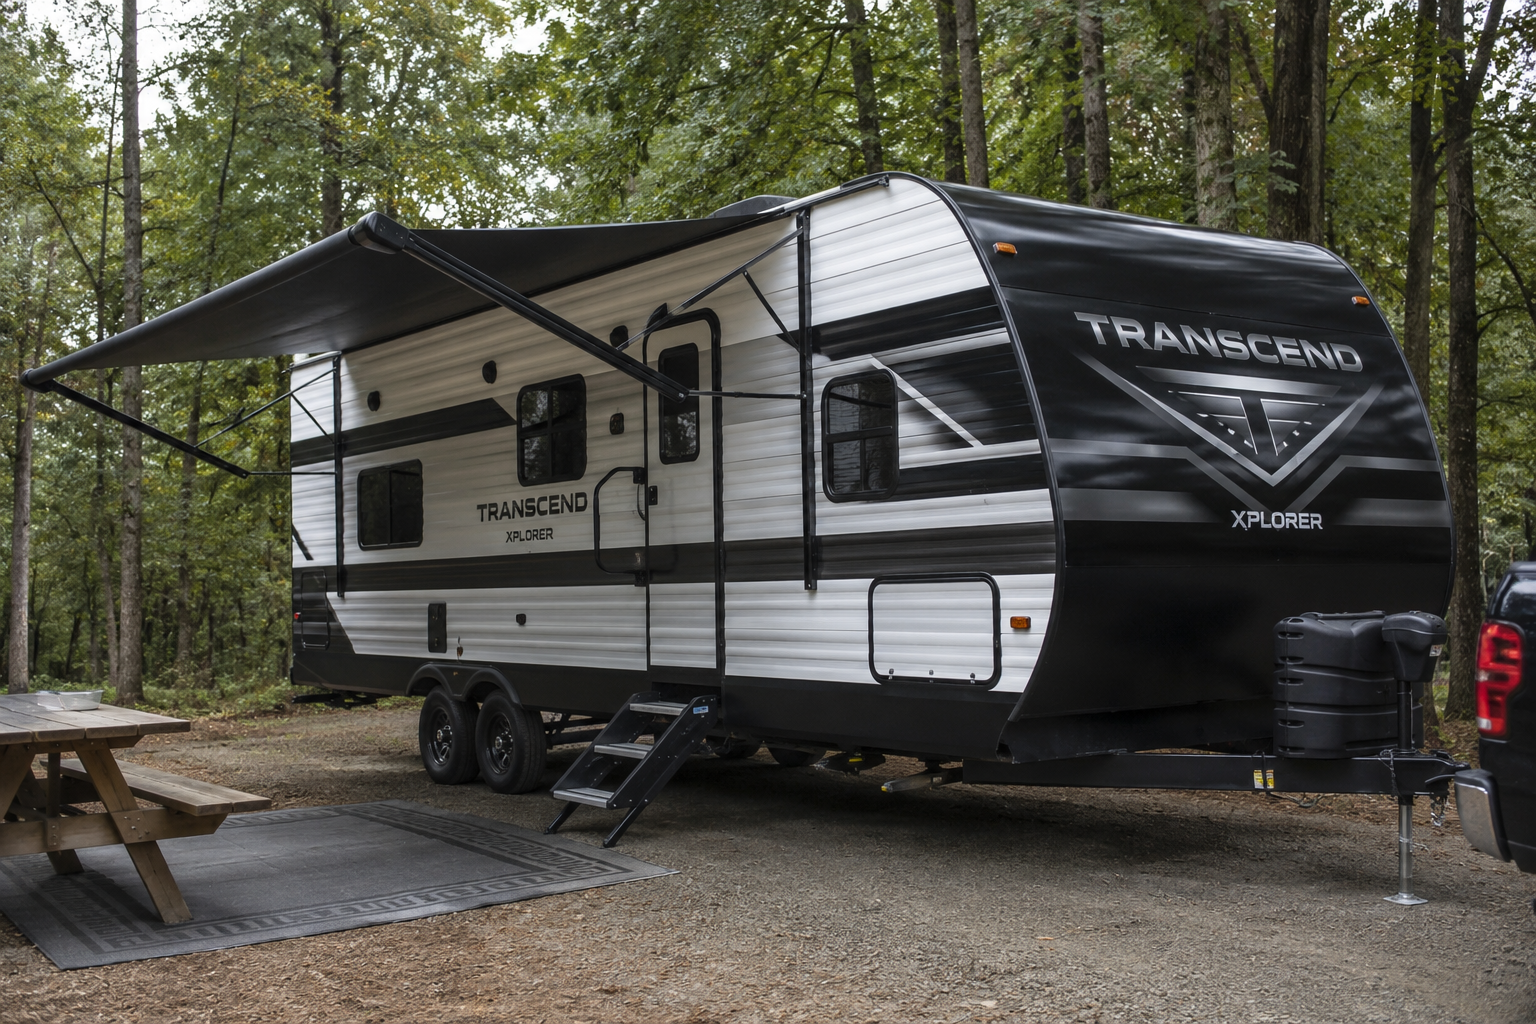
One of our favorite parts of travel trailer camping is finally arriving at the campground. Whether we’re spending a weekend in the North Carolina mountains, camping near a lake, or taking a quick getaway close to home, we’re always excited to pull into our campsite.
Arrival can also feel hectic after a long drive. We’ve found that following the same setup routine each time helps us slow down, catch problems while they’re still easy to fix, and get settled sooner. This is the checklist we use with our travel trailer and our Miniature Schnauzer, Angel.
Affiliate Disclosure: This post may contain affiliate links. If you make a purchase, complete a booking or rental, create a qualifying listing, subscribe to a service, or take another qualifying action through one of these links, we may earn a commission at no additional cost to you.
As an Amazon Associate I earn from qualifying purchases.
Advertising Disclosure: This website may display advertisements provided by third-party advertising partners, including Google AdSense. Advertising helps support Travelers and a Schnauzer and allows us to continue providing free travel resources, destination guides, and planning tips for our readers.
Why We Follow the Same Setup Routine
When we first started camping with a travel trailer, we sometimes found ourselves checking connections twice or realizing we had skipped a small step. Nothing major went wrong, but it made arrival more stressful than it needed to be.
Now we work through the site in a consistent order: inspect it, check that the utilities will work for us, position and secure the trailer, then finish the hookups and living space. We still take our time, especially when a campground is busy or we arrive tired.
Some of that planning starts before the trip. We explain what we look for when choosing a site in our campground booking checklist.
Before We Unhitch: Inspect the Site and Utilities
Walk the campsite
Before backing in, we look at the site on foot. We check for low branches, rocks, the fire pit, picnic table, utility locations, and enough room for the slides and awning. We also think about where the truck will park and whether the utility connections will reach once the trailer is positioned.
One of us spots for the driver as we back in. Clear communication helps us line up the trailer without rushing.
Make sure the hookups will work
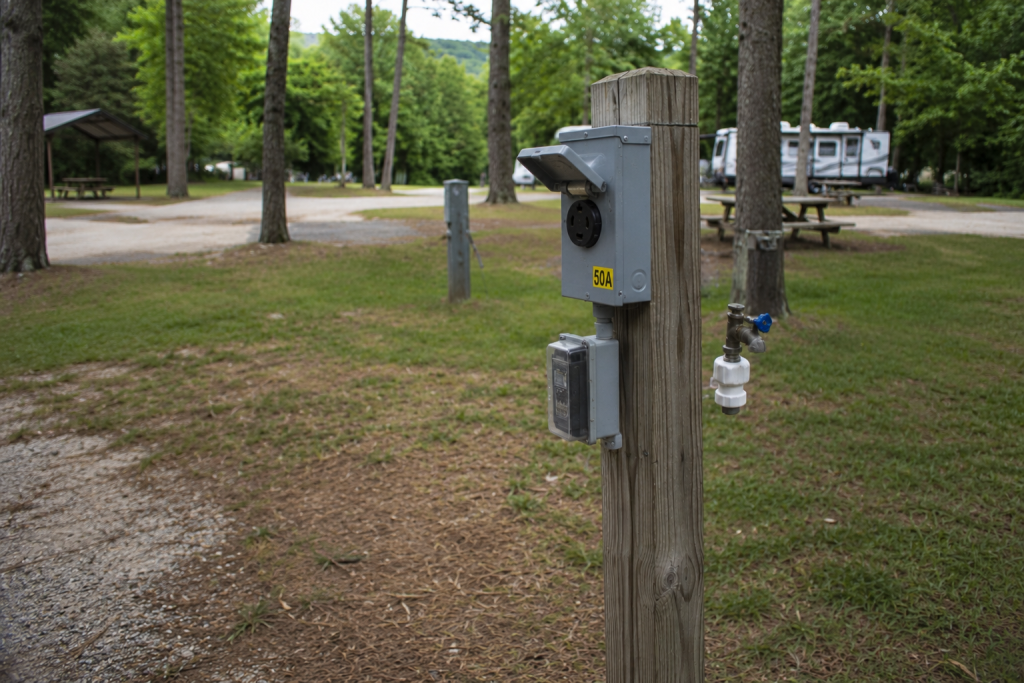
We check the electrical and water hookups before disconnecting the trailer from the truck. We inspect and test the electrical connection we plan to use. We also check the water hookup and make sure our connections will reach.
This step comes from experience: we have had to change campsites because an electrical connection was not working. Finding that out while we were still hitched made moving much simpler. If something is wrong, we contact the campground and resolve it before committing to the site.
At a site without every utility, we check what is available and adjust the rest of our setup accordingly.
Position, Level, and Secure the Trailer
Check the final position
Once we know the site and utilities will work, we make sure the trailer is where we want it. We check that the entry door can open, the slides have clearance, and the outdoor space is usable. Taking another minute to reposition now is easier than discovering an obstruction later.
Level side to side
We check that the trailer is level side to side before unhitching. The RV leveling blocks mentioned below are the blocks we use under our stabilizer jacks.
Chock the wheels
Once the trailer is positioned, we chock the wheels before disconnecting from the truck. We’ve tried several wheel chocks over the years; some broke sooner than we expected. The heavy-duty rubber wheel chocks we use now (paid link) have held up for more than six years.
We also use an X-chock between the tires (paid link) on our dual-axle trailer to help reduce movement while we’re inside. We use it along with our regular wheel chocks.
Unhitch and Stabilize
After the wheels are chocked, we unhitch using the procedure for our trailer and weight-distribution hitch. We take our time with the jack, hitch components, safety chains, and trailer wiring rather than trying to rush through the process.
Once the truck is clear, we use the tongue jack to level the trailer front to back. Then we place our RV leveling blocks (paid link) https://amzn.to/4gtEC3Y under the stabilizer jacks and lower the stabilizers until they are snug. We use the stabilizers to reduce movement after leveling; we do not use them to lift or level the trailer.
These are the same stabilizer blocks described in our campground departure routine. When leaving, we raise the stabilizers before collecting the blocks underneath them.
Connect the Utilities
We’ve already checked that the hookups are suitable before unhitching. Now we make the connections we need for the stay.
Electrical hookup
Our trailer uses a 50 amp connection. We turn the pedestal breaker off before connecting our equipment and trailer power cord. After connecting, we turn the breaker back on, check our electrical device’s indicators, and confirm that power is working in the trailer.
After trying several electrical-protection devices over two travel trailers, we now use the ActiveStart ACS50PS 50 amp soft starter with surge protection (paid link). We like having both functions in one device. The soft-start function helps with the air conditioner’s startup demand; its surge protection addresses voltage spikes.
We also use the ActiveStart when loading or unloading the trailer at home. With a 15-to-50 amp adapter between the device and a household outlet, we have been able to run one trailer air conditioner. That describes our equipment and circuit; it does not mean every household outlet can run an RV air conditioner. The adapter does not provide 50 amp service, and the soft starter does not increase the power available from the outlet. The circuit’s capacity and the trailer’s other electrical loads still matter.
Water hookup
For campground water, we use a water pressure regulator (paid link), drinking-water hose (paid link), inline water filter (paid link), hose quick connections (paid link), and a 90-degree hose elbow (paid link). Once everything is connected, we turn the water on slowly and check for leaks outside and inside the trailer.
Sewer hookup
At a full-hookup site, we connect our RV sewer kit (paid link) securely and use a sewer hose support (paid link) when needed. We keep the tank valves closed until it is time to dump.
Open Up the Campsite
Extend the slides
Before extending the slides, we check the clearance again. Trees, utility posts, picnic tables, and other obstacles can look different from the trailer’s final position. We follow our trailer manufacturer’s instructions when operating the slides.
Set up the awning
We enjoy sitting outside with Angel nearby, but we only extend the awning when the weather allows. If strong wind or storms are expected, we leave it retracted.
Get the Inside Ready
Once the outside connections are complete, we check the refrigerator, water heater, thermostat, battery status, and other systems we plan to use. We put away travel items, organize the kitchen, and plug in chargers.
This part rarely takes long, but it makes the trailer feel settled after the drive. Between trips, we follow a separate routine for preparing our travel trailer for a weekend getaway.
Set Up a Space for Angel
Angel is usually ready to explore as soon as we arrive. Before she does, we check the campsite for sharp sticks, fire-pit debris, broken glass, ant mounds, and anything else we would not want her to step in or investigate.
We set out her water and food bowls, bed, blanket, toys, treats, leash, and harness. Keeping those familiar things close helps us settle into our usual camping routine.
After setup, we take her for a short walk around the campground. It gives her a chance to sniff around and gives us a welcome break from working on the trailer. Our campground safety routine for Angel covers the other checks we make during a stay.
Our Final Campsite Walkaround
Before we consider setup finished, we make one more trip around the trailer and campsite:
- Wheel chocks are secure.
- Stabilizer jacks are lowered.
- Electrical, water, and sewer connections are secure where applicable.
- Slides have opened fully and have clearance.
- The awning is secure or retracted for the weather.
- We see no water leaks.
- The campsite is clear of hazards for Angel.
- Angel’s bowls, bed, leash, and other essentials are ready.
That last check only takes a few minutes. It is especially helpful when we have divided the setup tasks between us.
A Few Lessons We’ve Learned
Check the utilities before unhitching. We’ve had to move because an electrical hookup did not work. Testing first saved us from setting up twice.
Don’t rush the order. Positioning, leveling side to side, and chocking the wheels before unhitching make the rest of our routine easier to follow.
Keep the checklist handy. Even after years of camping, an arrival after a long drive can be distracting.
Plan for Angel while setting up. We make sure she is secure and comfortable while we work, then check the site before her walk.
Frequently Asked Questions
Should we level a travel trailer before unhitching?
We level ours side to side while it is still connected to the truck. After unhitching, we use the tongue jack to level it front to back.
Do stabilizer jacks level the trailer?
No. We use our stabilizers to reduce movement after the trailer is level. We do not use them to lift or level it.
When do we check campground utilities?
We inspect and test the electrical hookup and check the water connection before unhitching. We’ve had to change sites because of an electrical problem, so this has become a firm part of our arrival routine.
Can the ActiveStart run an RV air conditioner from a household outlet?
With our 50 amp trailer, ActiveStart, adapter, and household circuit, we have run one air conditioner while loading or unloading at home. The available power still comes from the household circuit, so another RV and outlet may have different results. Check the device instructions, circuit rating, air conditioner requirements, and other electrical loads before trying a similar setup.
When do we open the sewer valves?
At a full-hookup site, we connect the hose during setup but keep our tank valves closed until we are ready to dump.
Final Thoughts
Our setup routine has changed a little as we’ve learned what works for our trailer, but one lesson has stayed with us: it is easier to solve a campsite problem before unhitching. Once we know the utilities work, we can secure the trailer, finish the hookups, and settle in without wondering whether we missed something.
Then we can take Angel for a walk and enjoy the reason we came.
Leave a Reply